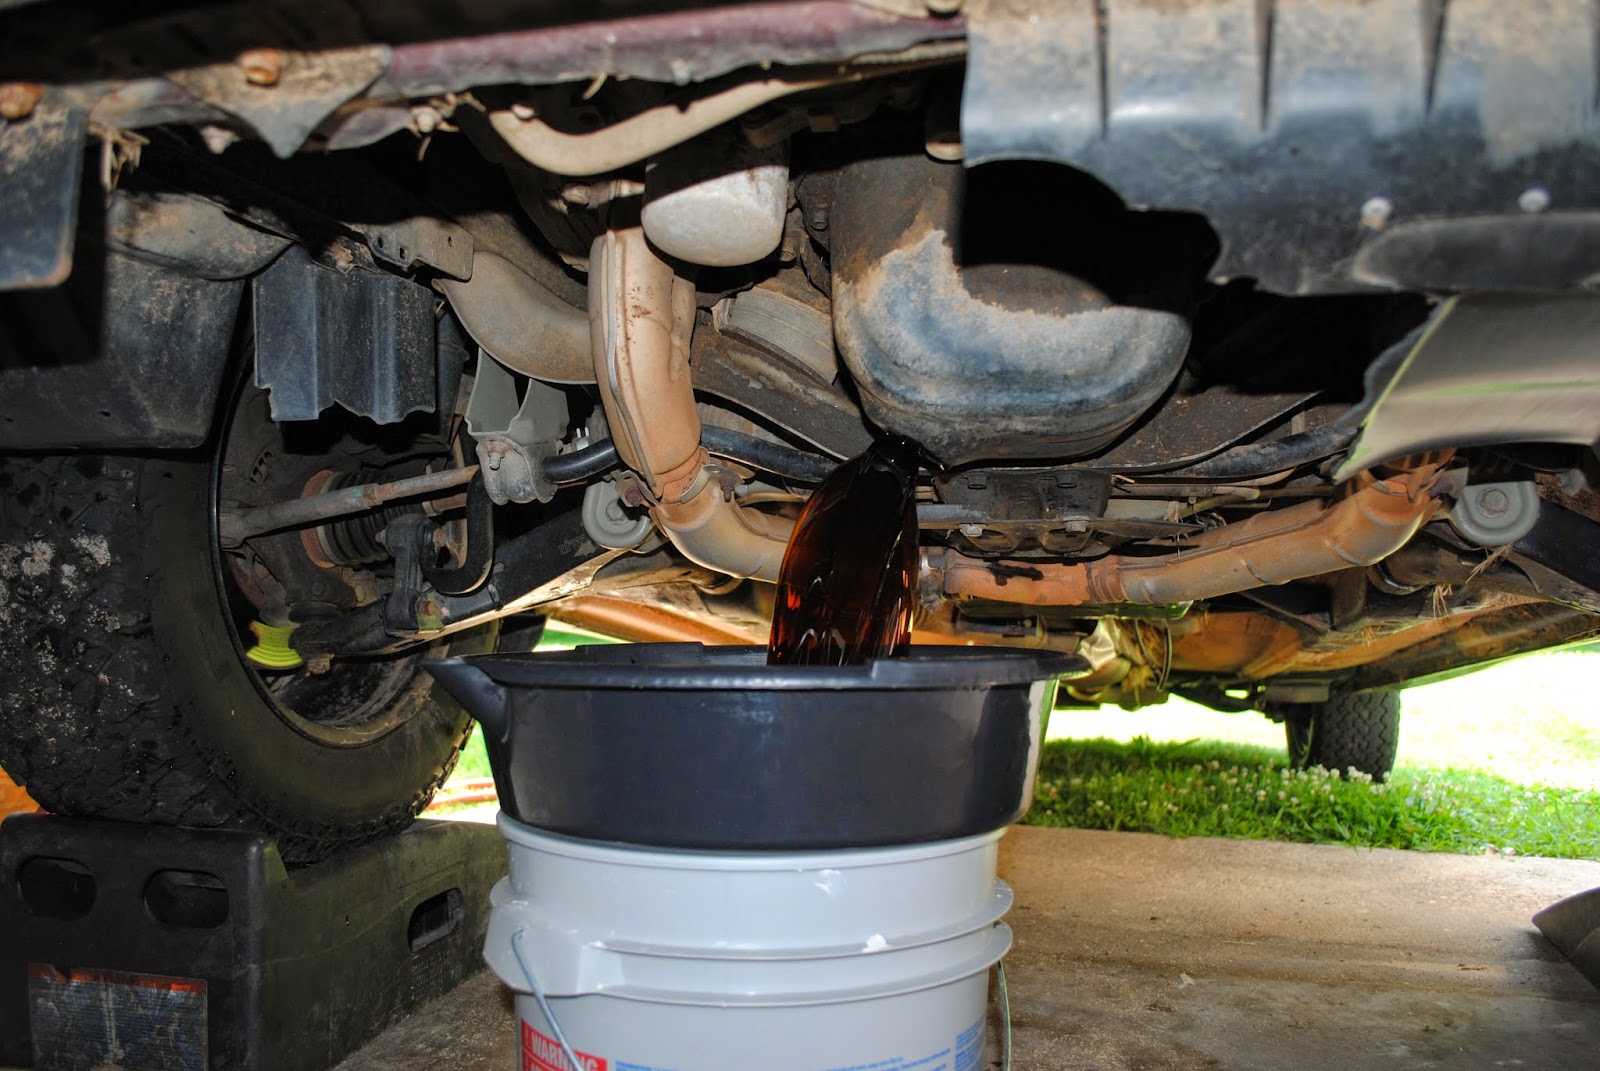
I'll be using my 2001 Subaru Outback to demonstrate. This will provide a basic guide to what it looks like, but every car looks different.
What you'll need:
Oil (consult owners manual or parts store for capacity and viscosity)
Oil Filter (consult parts store)
Wrench (depends on car for what size, mine was a 17mm)
Oil Filter Wrench/Pliers (can sometimes use hand if you're strong enough)
Crush Washer (if applicable, ask parts store)
Drain pan
Funnel
Paper towels (for clean up)
Hand cleaner
Total cost, besides tools, approximately $25.
You may need additional tools to remove the splash guard under the car. Mine has been "removed" by mother earth while enjoying some off road driving. Haha
Parts stores are always advertising oil change specials. This week O'reillys offered two sales that greatly benefit budget minded students.
An oil change kit for $5 which gives you everything you need to service your car besides the tools, oil, and filter:
Step 1
Elevate the front of the car.
Step 2
Remove oil filler cap to prevent a vacuum when draining the oil.
Step 3
Locate filter and drain plug.
Step 4
Loosen drain plug counter-clockwise. But do not remove until pan is in place. Its easier to loosen without the pan in your way.
Position drain pan. I set mine on a bucket to elevate it and prevent splashing.
Step 6
Remove drain plug. I used a paper towel to shield some of the heat from the plug. If you drove a while to where you are it will be hot so be prepared.....
Step 7
RELEASE THE HOT OIL! Mines not flowing very well because I use a magnetic drain plug and it stuck to the oil pan. Your car probably wont have one so it will flow out much better.
Remove oil filter by gripping with pliers, or hand, and turning counter clockwise. Careful as more oil will come from here so position pan accordingly. Set used filter to the side (I put it in the drain pan).
Change crush washer. This basically acts as a seal between the oil pan and drain plug. Some cars have a rubber o-ring built into the plug and crush washers are not necessary. Mine does not. Some crush washers are flat and orientation doesn't matter, however on Subaru's we have rounded washers and the curve must face up.
Step 10
Re-install drain plug with new crush washer. Tighten until you feel the crush washer compress.
Step 11
Install new oil filter. It is recommended to take a small amount of the new oil and pour it into the new filter to prevent a dry start. I only recommend this if your filter is installed vertically, otherwise oil will run out during installation. Also, using your finger, rub some oil onto the black ring on the filter.
Step 12
Pour new oil into the filler cap using the funnel provided. Then tighten cap.
Step 13
Start car and look underneath for any visible leaks. If not, put car on level ground and turn it back off. If there are leaks, you messed up and either didn't tighten the plug or filter enough.
Step 14
Drain old oil into oil container. Be sure to make a great big mess like I did (not really)....
Step 15
Ensure the car is level and has been off for about 5 minutes. This is to allow the oil to drain into the oil pan at the bottom of the engine, otherwise you'll get and inaccurate reading. To check your oil level on dipstick (pictured above) remove dipstick, wipe it off, reinsert dipstick, then remove it again and look at where the oil is on the stick. The end will either be marked with a low and full level hole (like mine) or it will be etched into the metal. Reinsert dipstick.
Step 16
CLEAN UP! Wipe up all oil and throw away the trash. Wash your hands.
DO NOT THROW AWAY YOUR OIL AND FILTER IN THE TRASH!!! Take them back to your auto parts store and they will dispose of it for FREE!


No comments:
Post a Comment